
Prerequisite Analysis & Data Mapping
Before making your first API call, a crucial preparatory step is mapping your external data model to the core concepts within Smarter Drafter. This analysis will define the structure and entities you will be creating and managing via the APIs.
| Smarter Drafter Concept | Purpose | Your Action Plan |
|---|---|---|
| Custom Data Source | The identifier for your integrated system, which the form filler selects as the source of matter data. | Determine the name and key that will represent your external system within Smarter Drafter. |
| Matters | Groups collection of data and automatically assigns the right information when a form filler selects a matter. | Identify the matters required to be pushed to Smarter Drafter and access control for matters |
| Record Type | A categorisation for entities involved in a matter. Defined as either a Role (e.g., Client, Vendor) or Matter Details (for non-person entities like a property or transaction details). | Analyse your source system to define all necessary roles and types for your data |
| Field Alias | Stores the specific data values within a Record (e.g., full_name, ABN, email_address). | Map every relevant field from your source data (e.g., a person's first name) to a unique Field Alias you will create in Smarter Drafter. |
| Records | The entities that hold the actual data (e.g., a specific person, company, or property) or matter data (employment information, trial details) | Prepare to migrate your entities into Records, assigning Field Alias values to each one. |
Authentication
All requests to the Matter Record APIs must be authenticated using an API Key. This key is your credential for all data operations.
- In Smarter Drafter interface, navigate to the Data-Driven Automation page.
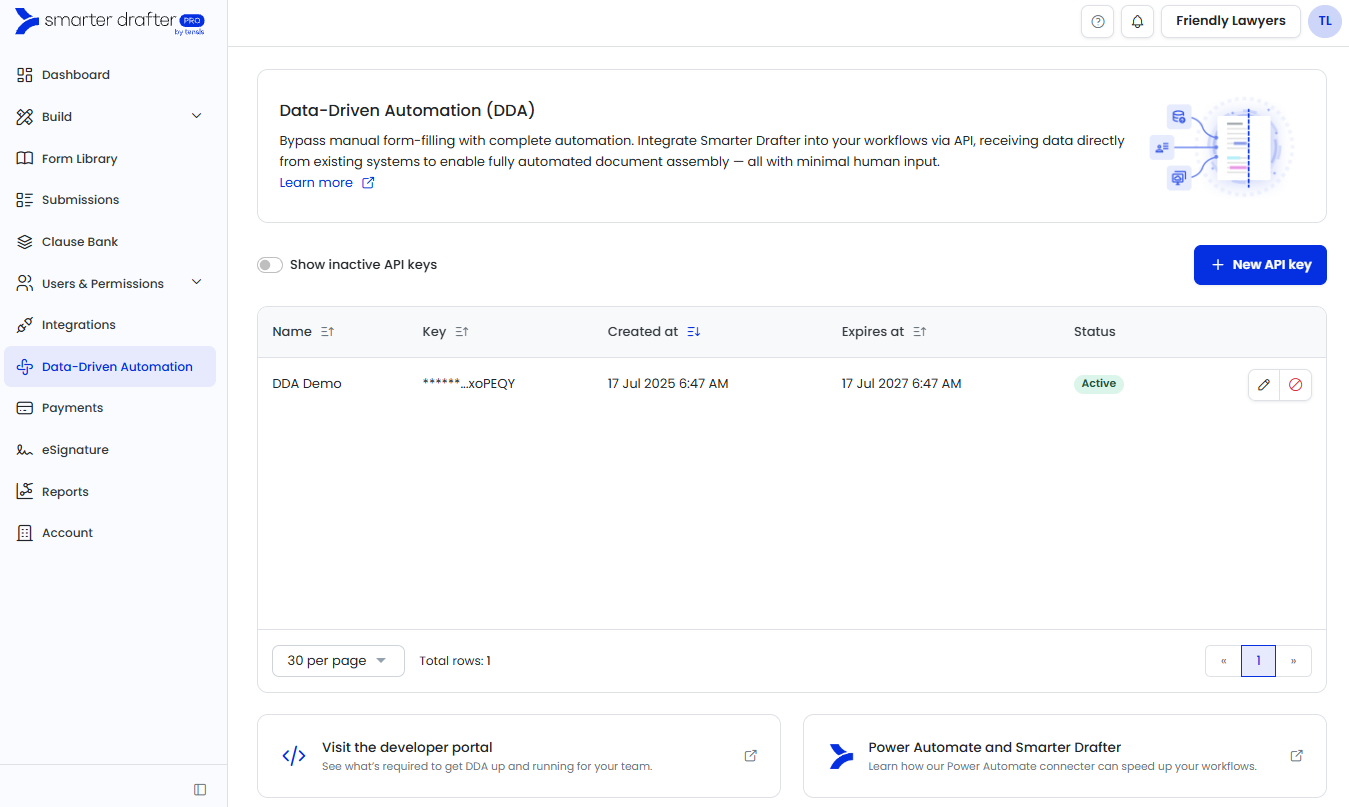
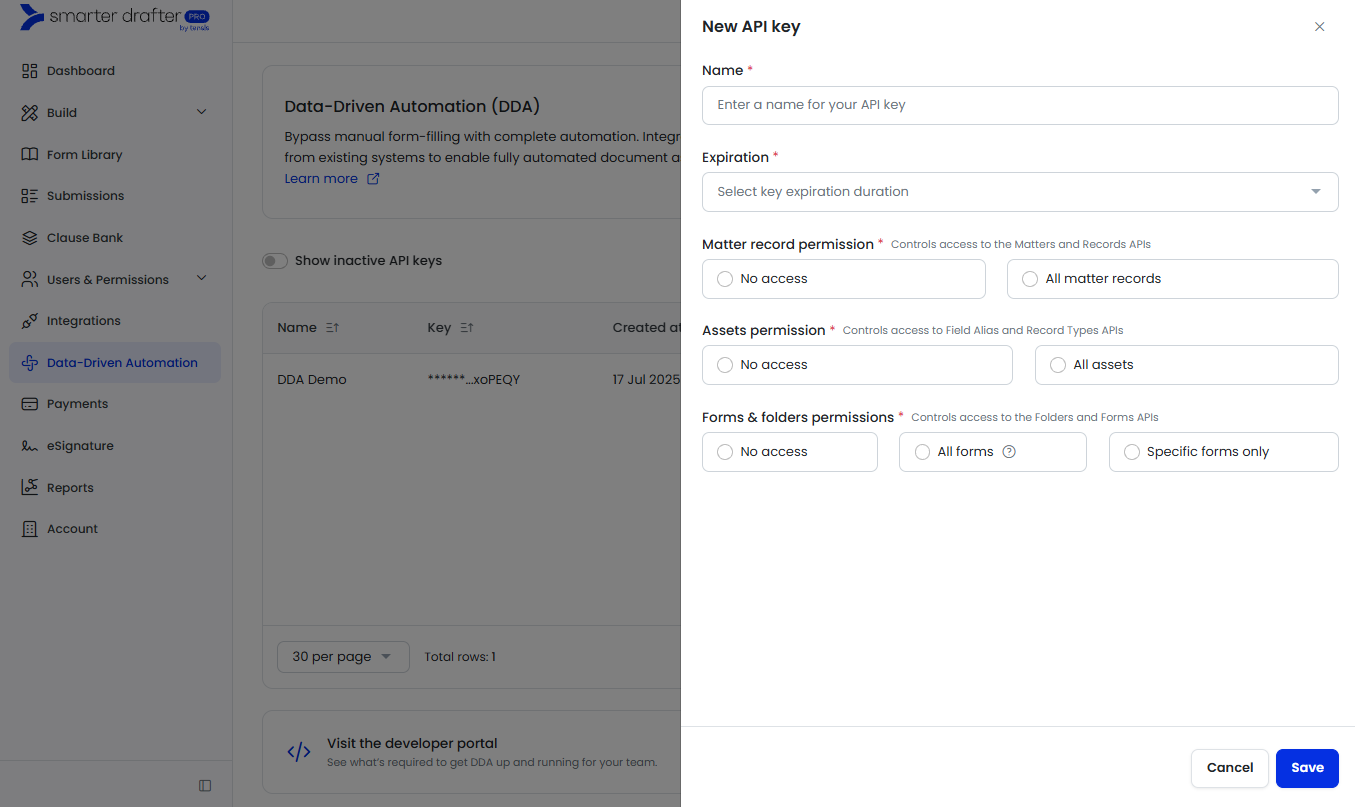
- Click on 'New API key'
- Name your API key, select an expiration and for Matter Record add access to Matter Record permission and Assets permissions.
Matter Record permission will provide access to Matters and Records API. Assets permissions provide access to Field Alias and Record Type APIs.
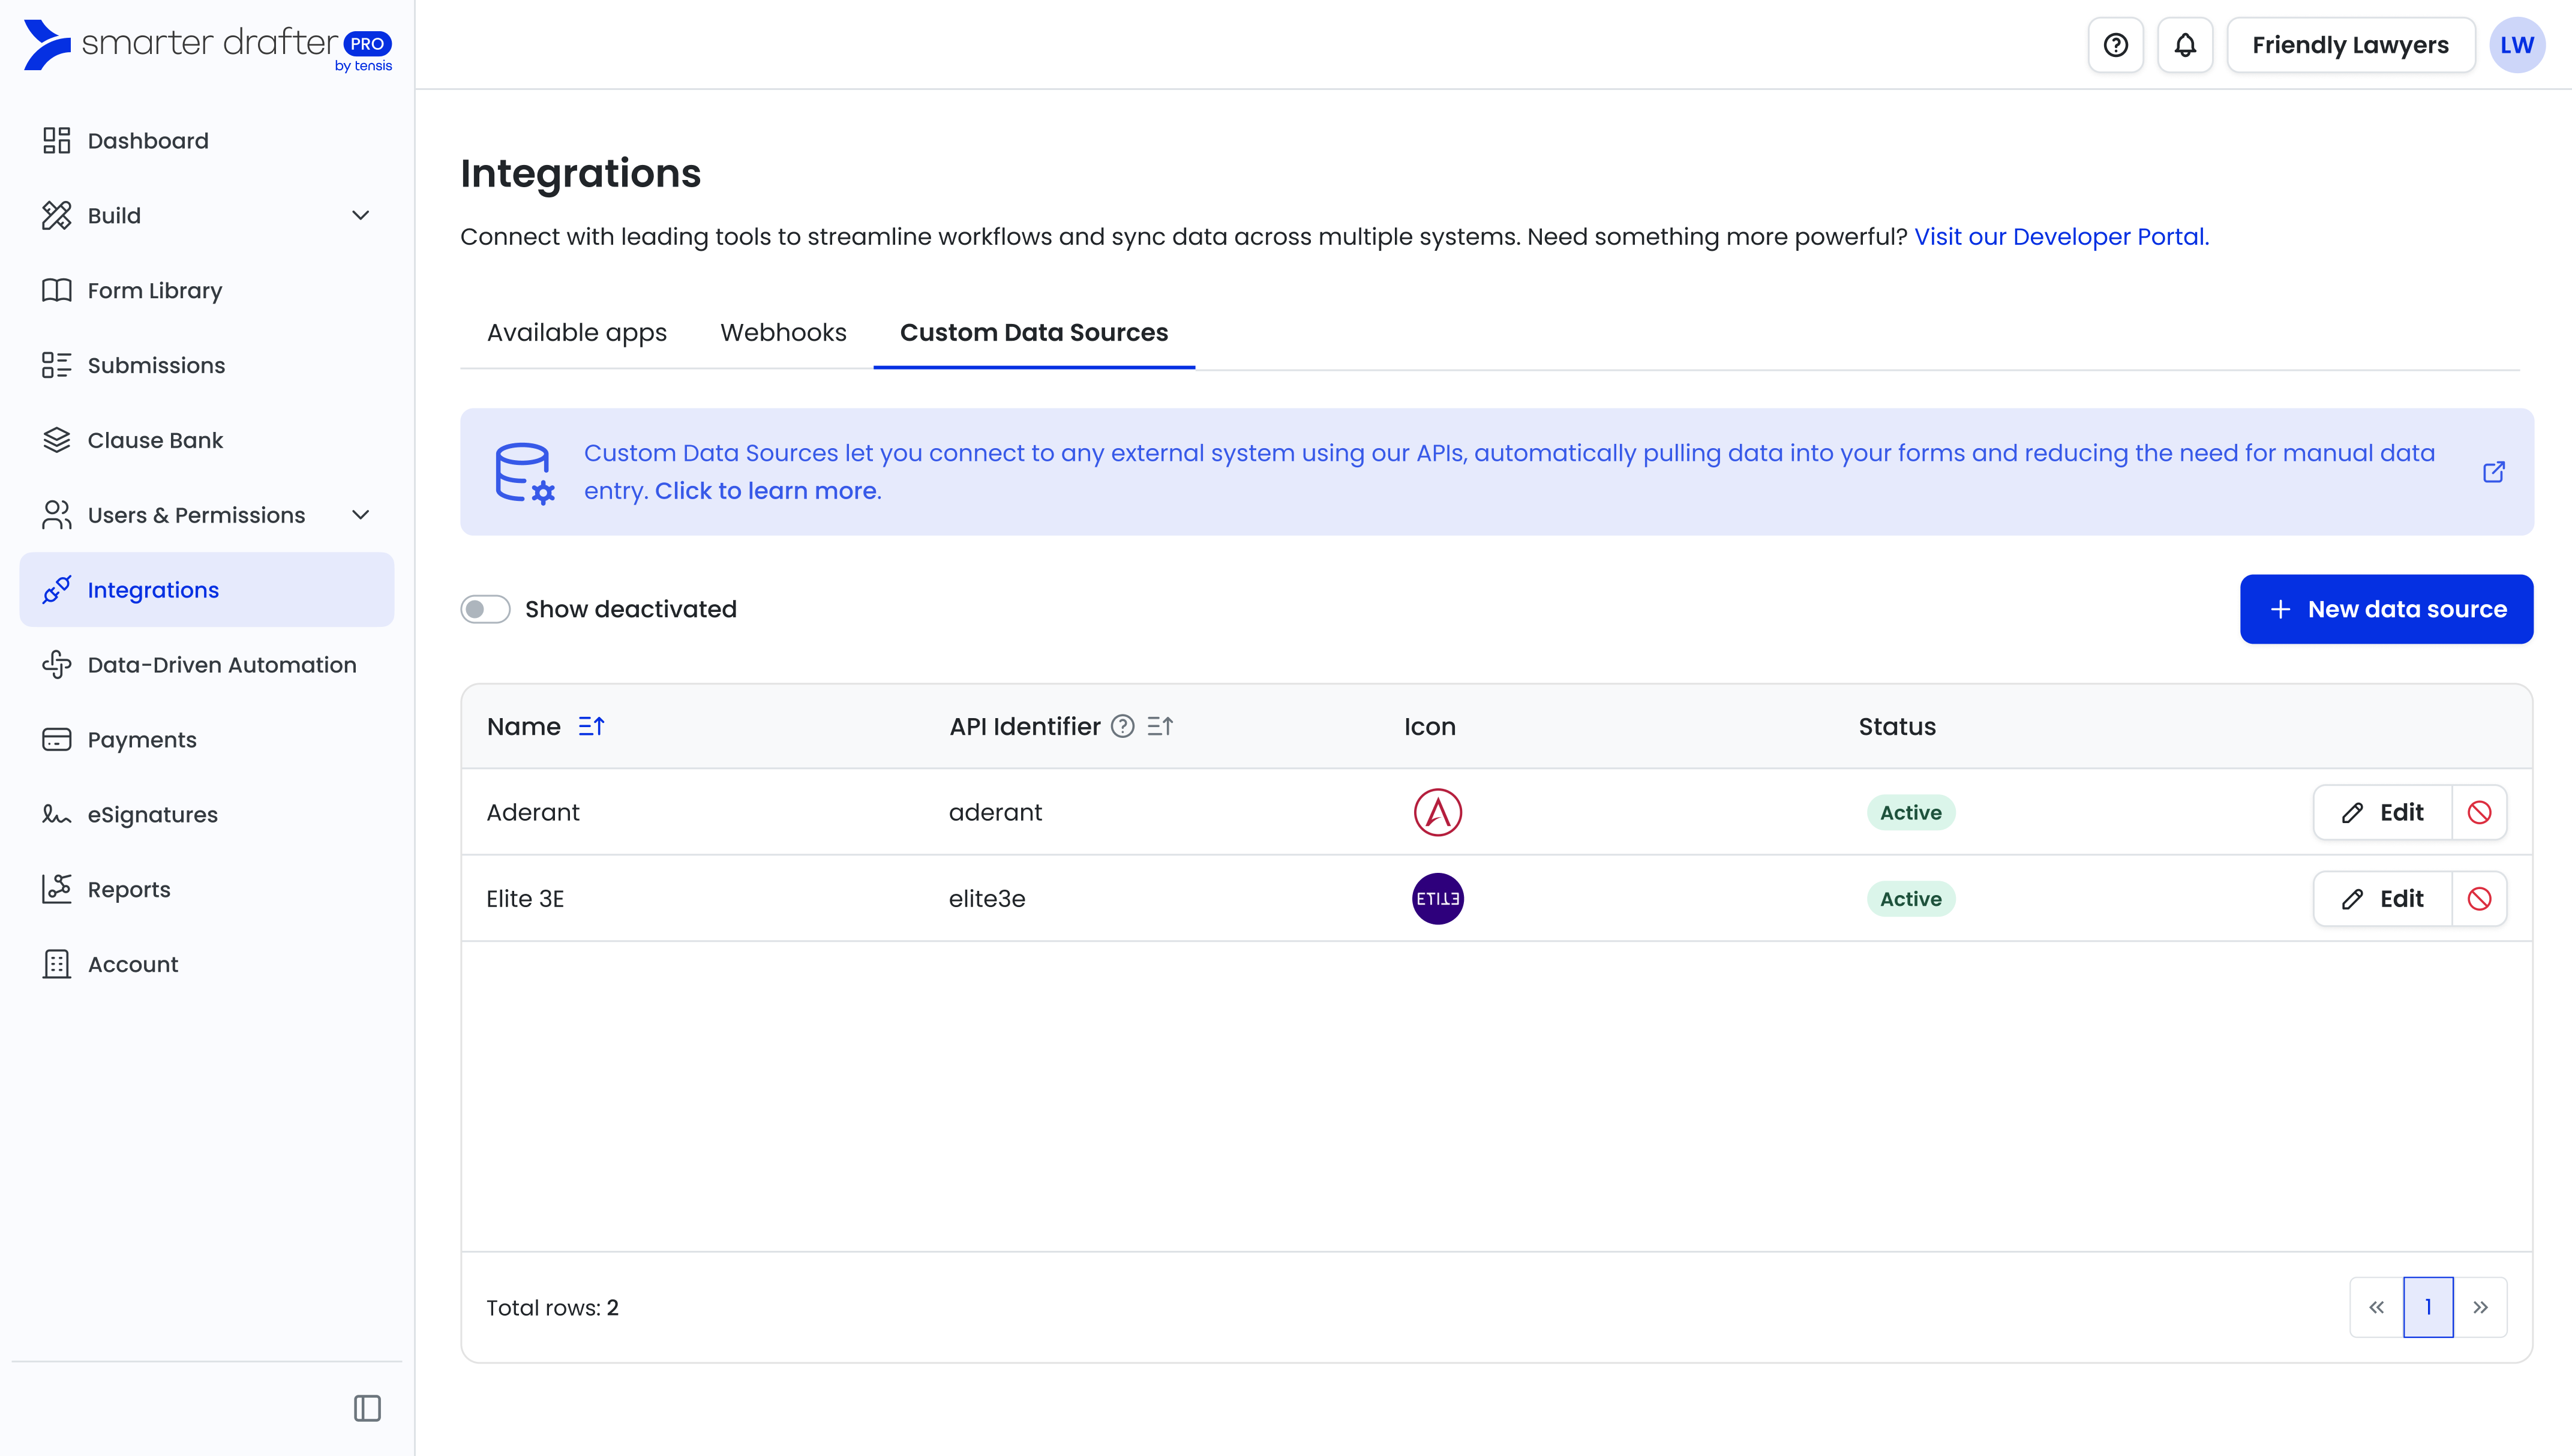
Custom Data Source
- In Smarter Drafter interface, navigate to Integrations page and Custom Data Sources tab
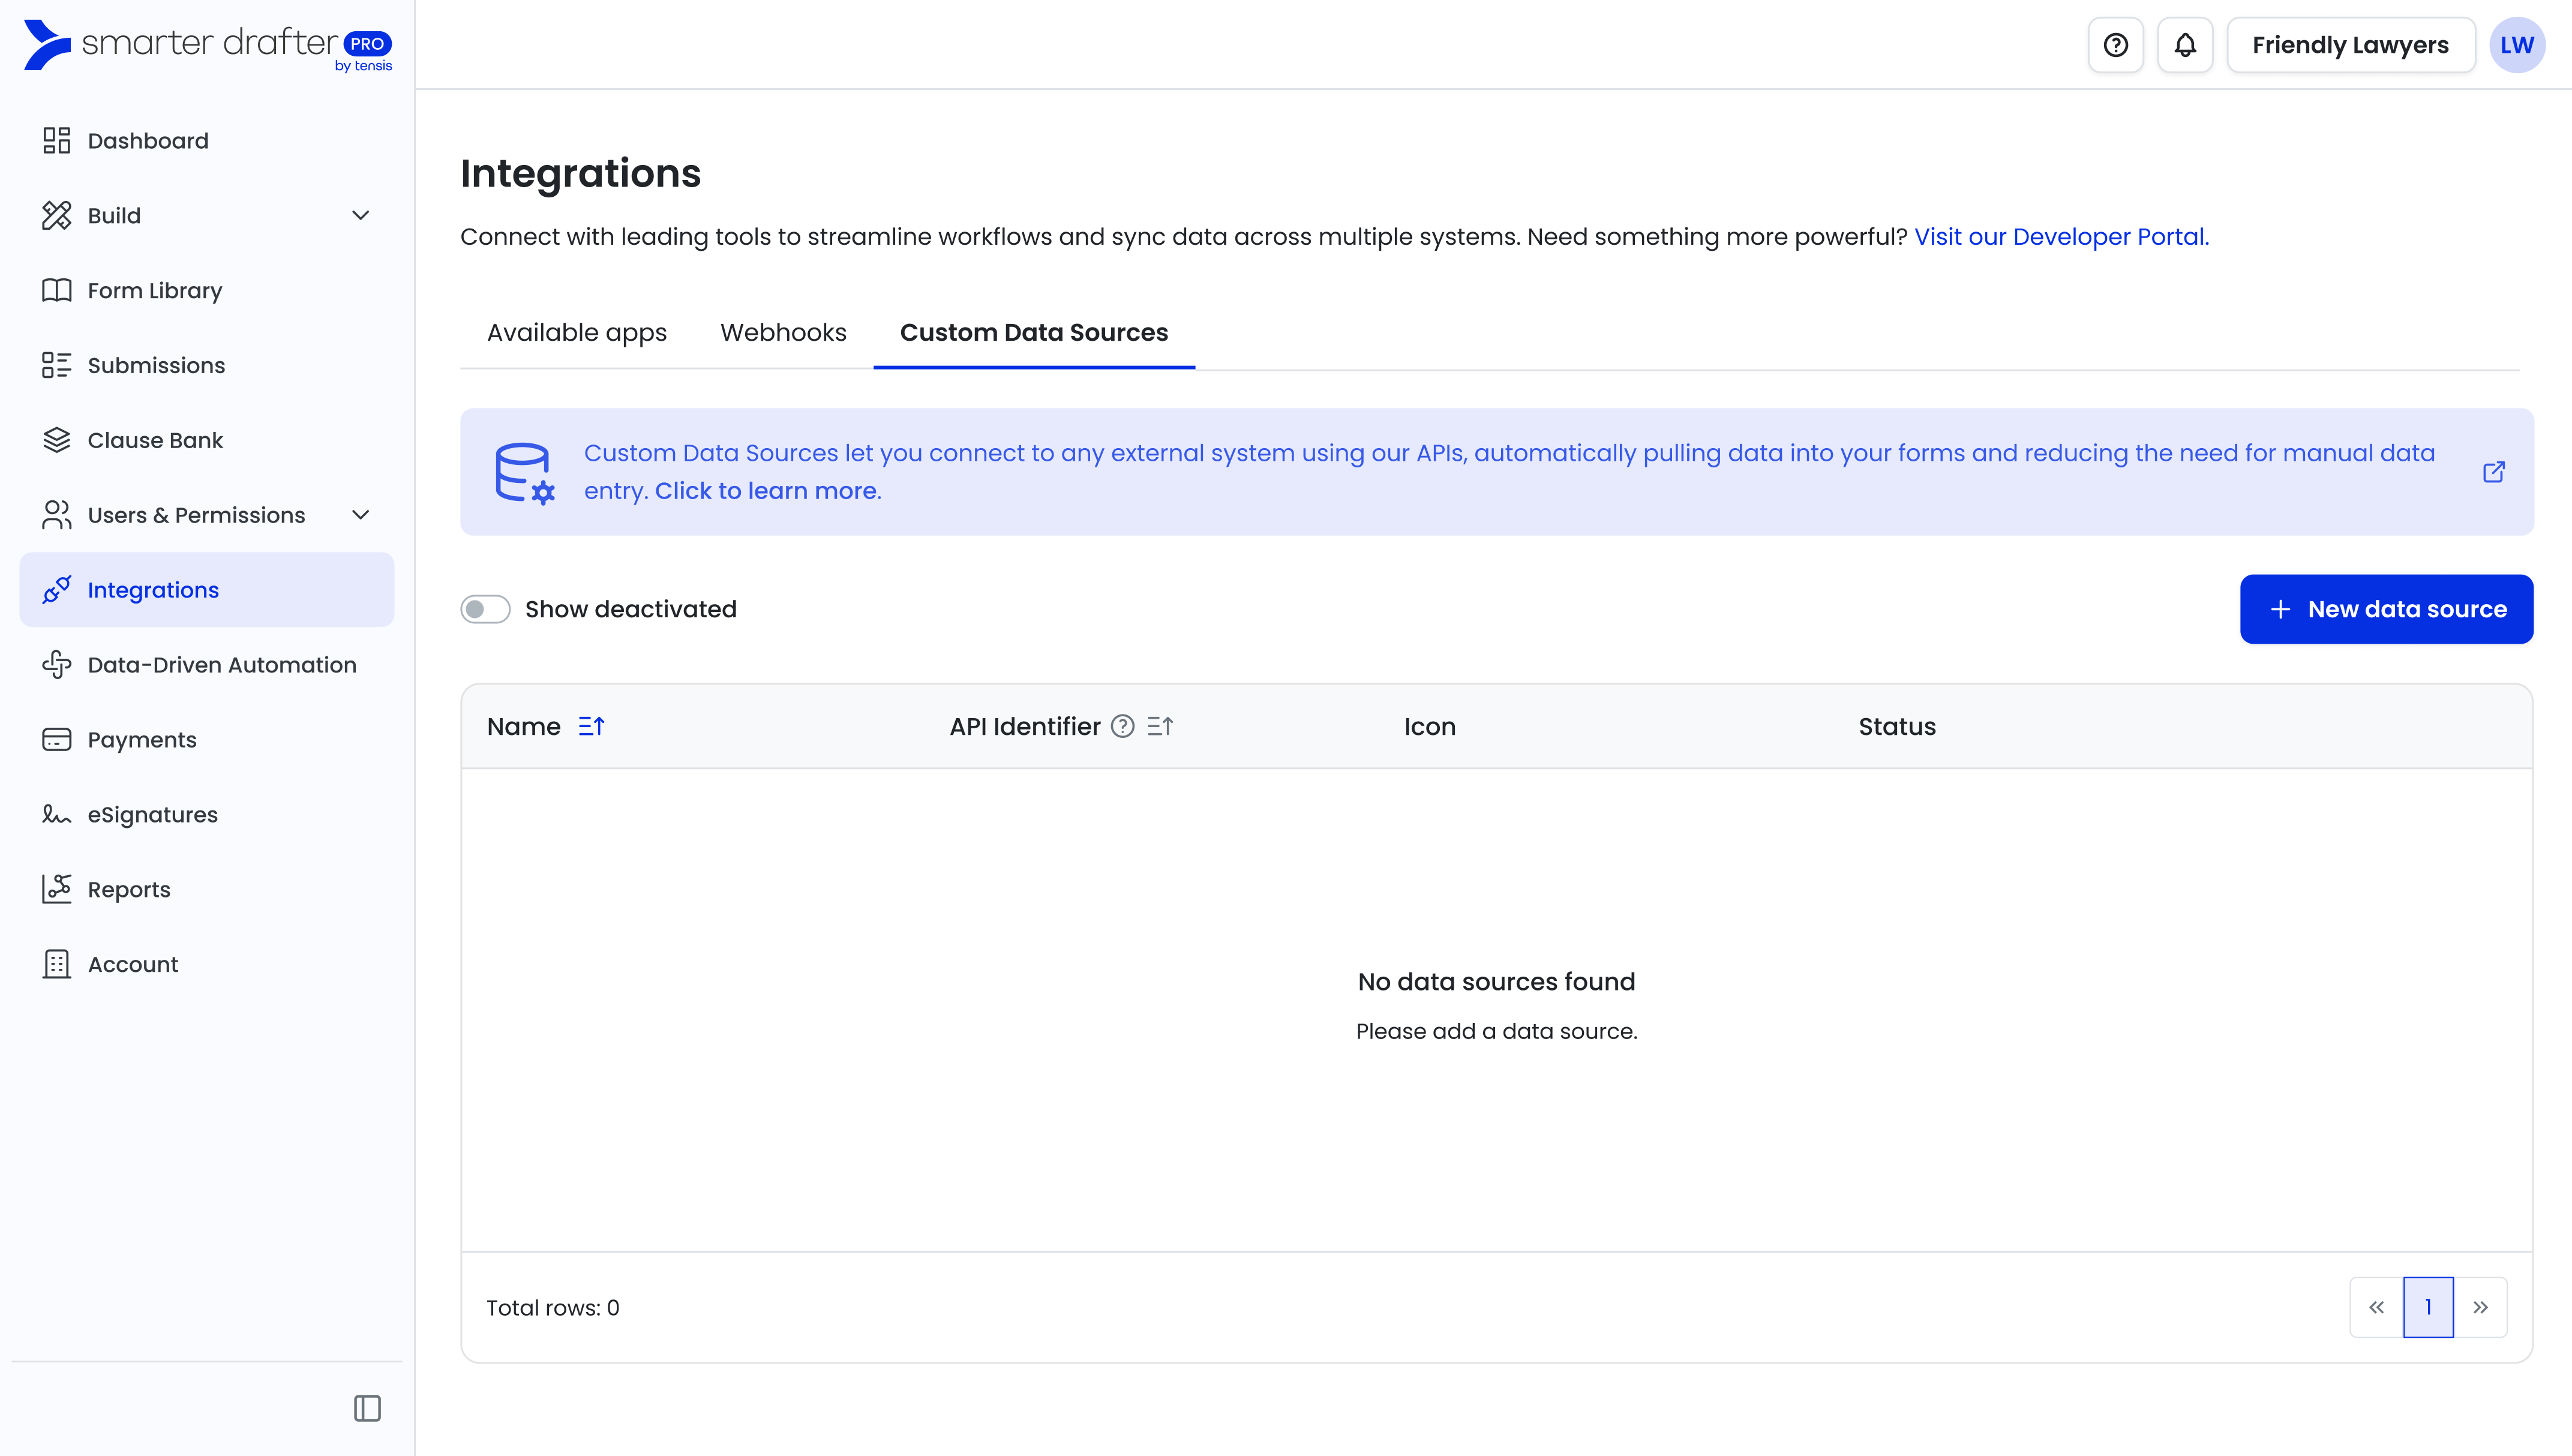
- Click on 'New data source'
- Enter a Name, API identifier and upload a logo file.
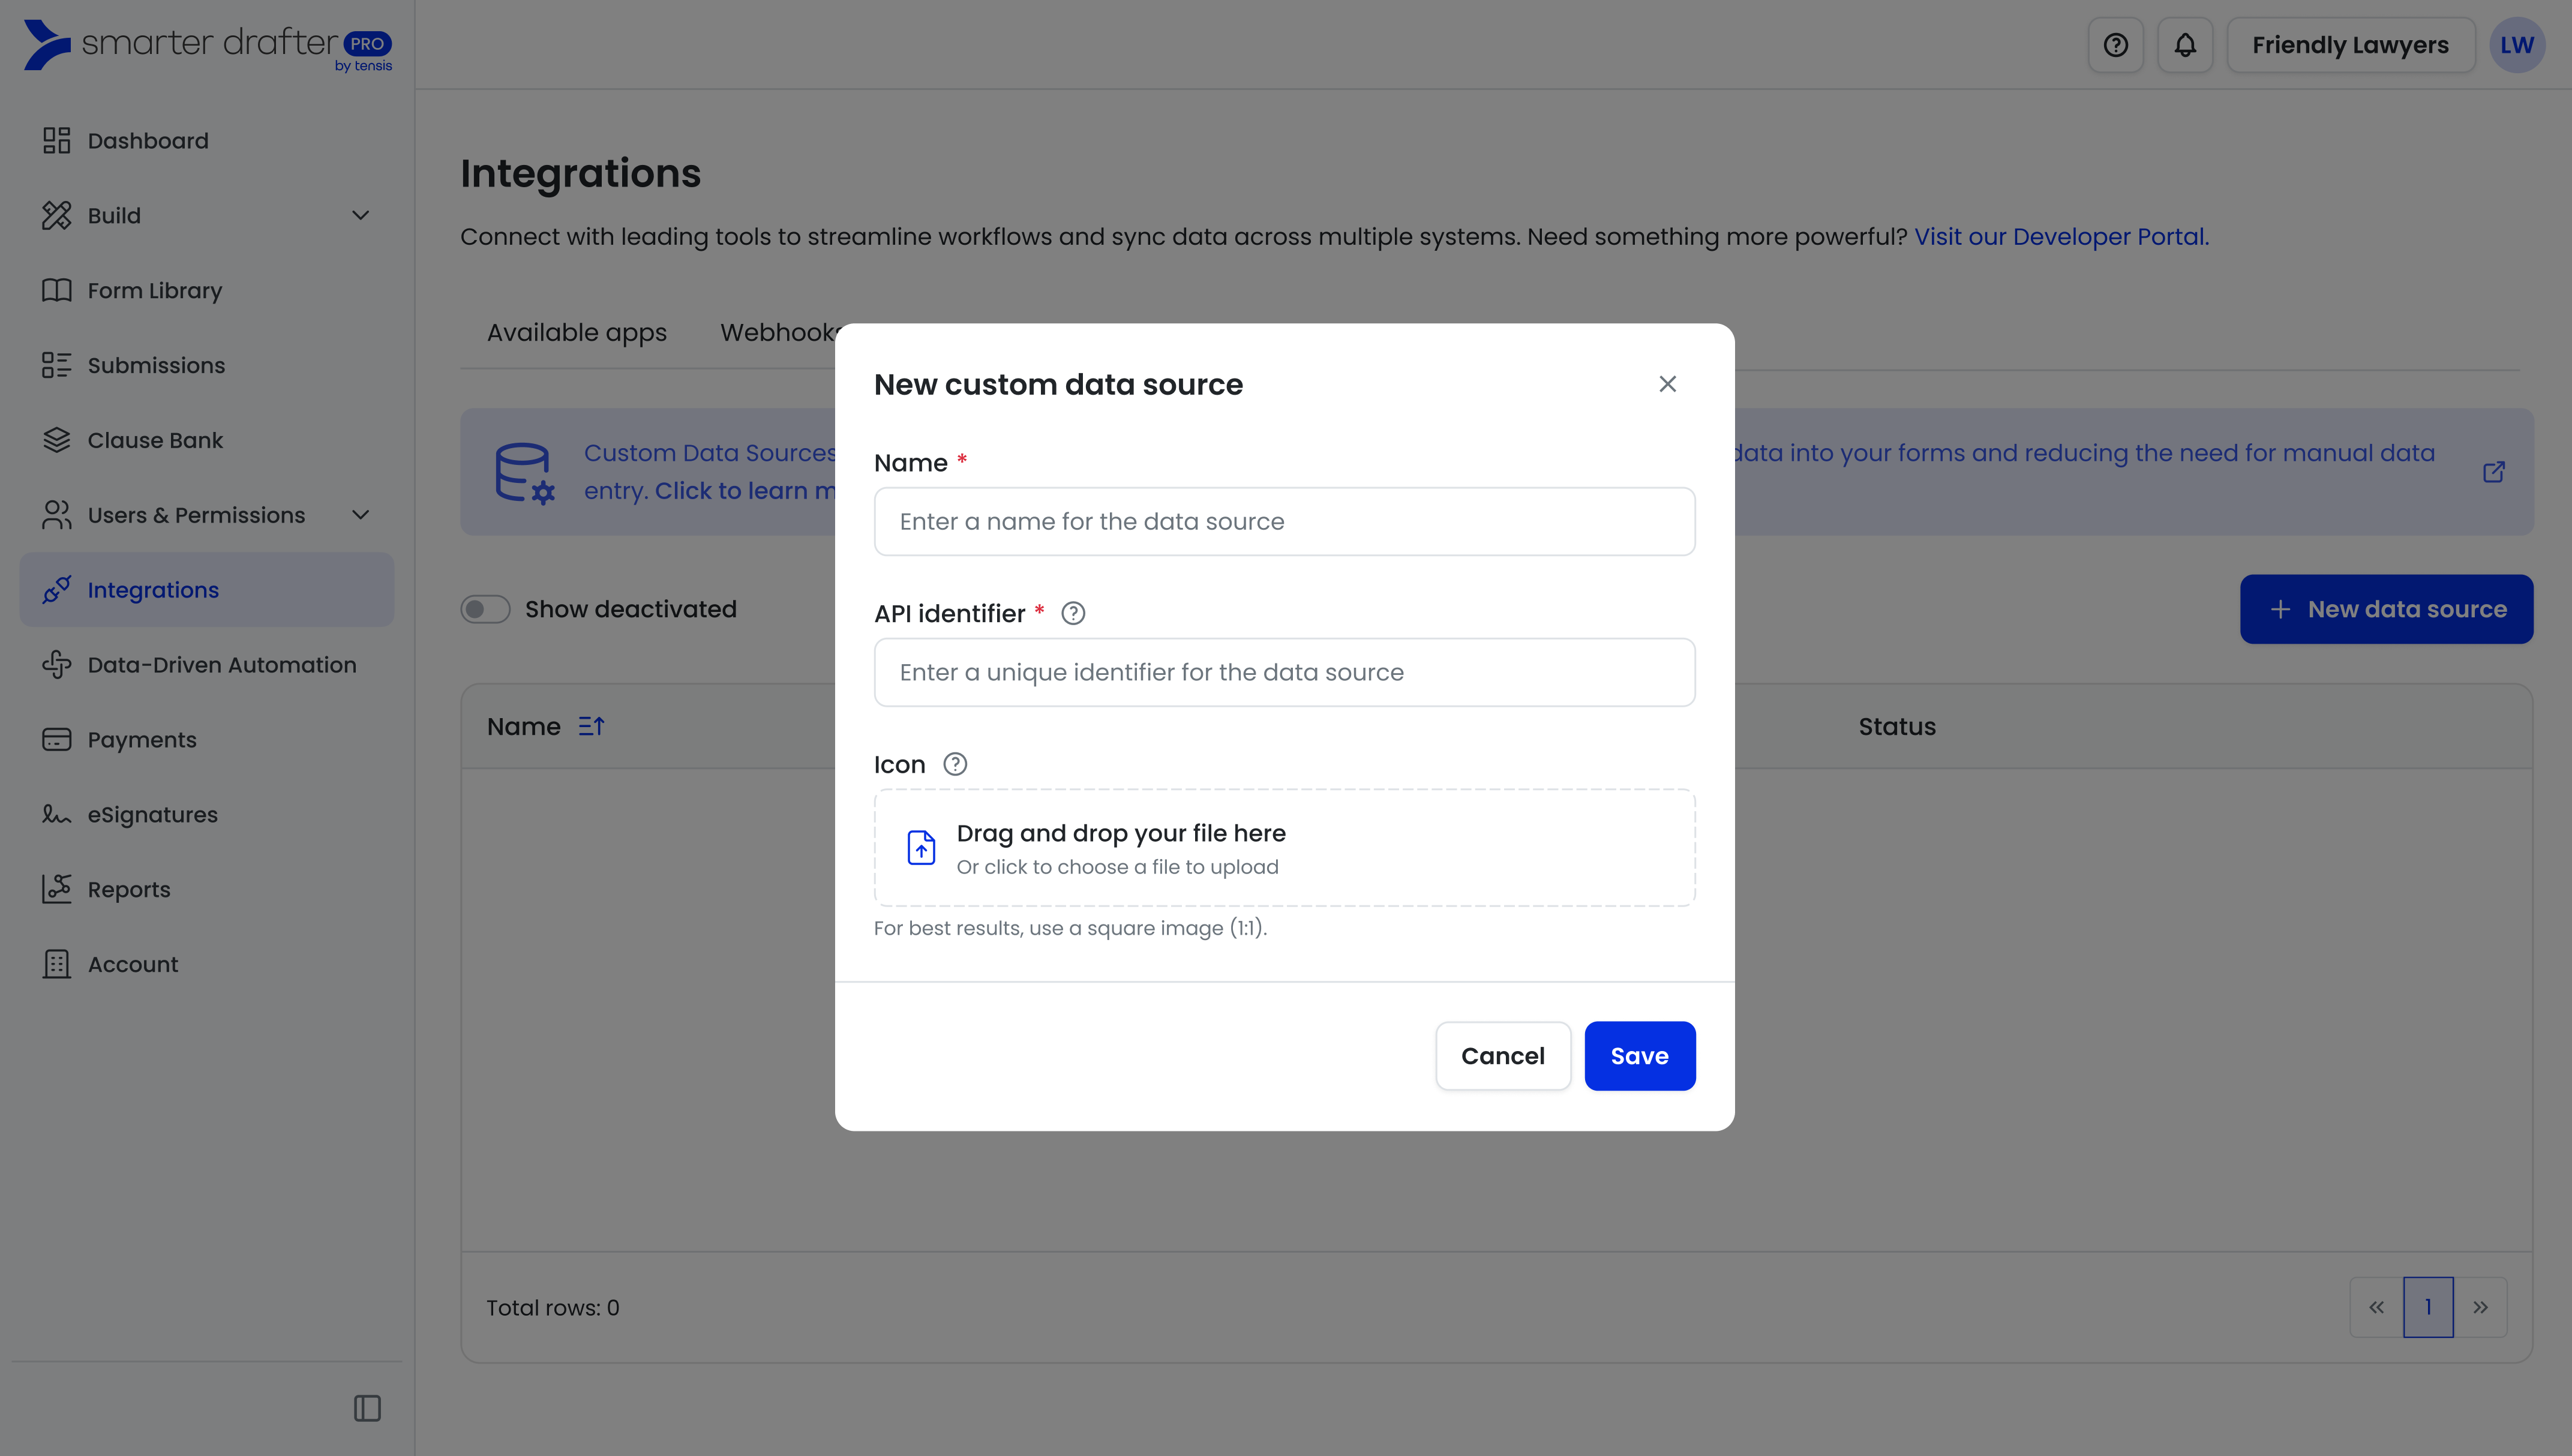
Name will be the label that appears for end users, API identifier will be used by the API to reference the data source.
End user view when starting a form.
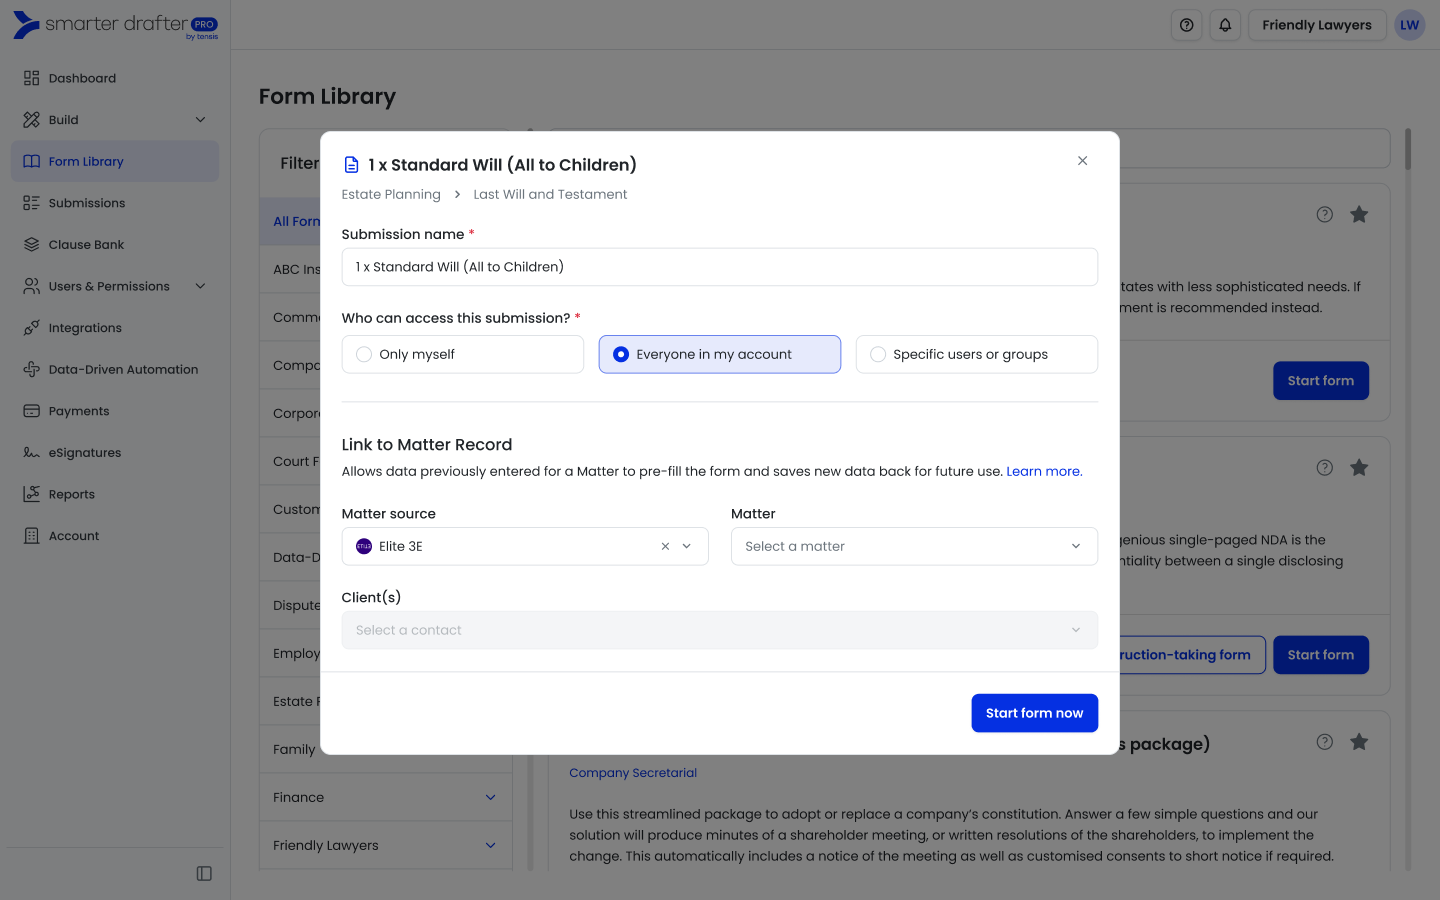
Your custom data source is now ready to be used.
Custom data sources created can be assigned to a specific permission set to show or hide based on users who have access to the permission set. If a custom data source created is not visible, navigate to the permission set of the user and ensure the Custom Data Sources (under the Filler tab) has the relevant data source enabled.
You may use different data sources as sandbox or production, and applying permission set to show or hide the custom data source will handle who has access when filling in forms.